Travis Picking Patterns – Everything You Need To Know!
In this tutorial, we’ll learn how to travis pick on guitar, starting with the easiest fingerstyle pattern and building up from there.
Travis Picking Patterns For Beginner to Intermediate
These exercises will help you gradually build the skills you need to play a ton of popular travis picking songs.
STEP 1: PLACING YOUR FINGERS
The lesson begins with finger placement: Your thumb goes on the 3 thicker strings. Index on G, middle on B, ring on high e.
STEP 2: WARMING UP
Next we warm up with a “thumb vs fingers” exercise and get used to moving our fingers. Whether you are travis picking on acoustic guitar, or electric, this exercise is very important to be comfortable with.
STEP 3: FOLLOW THE ROOTS
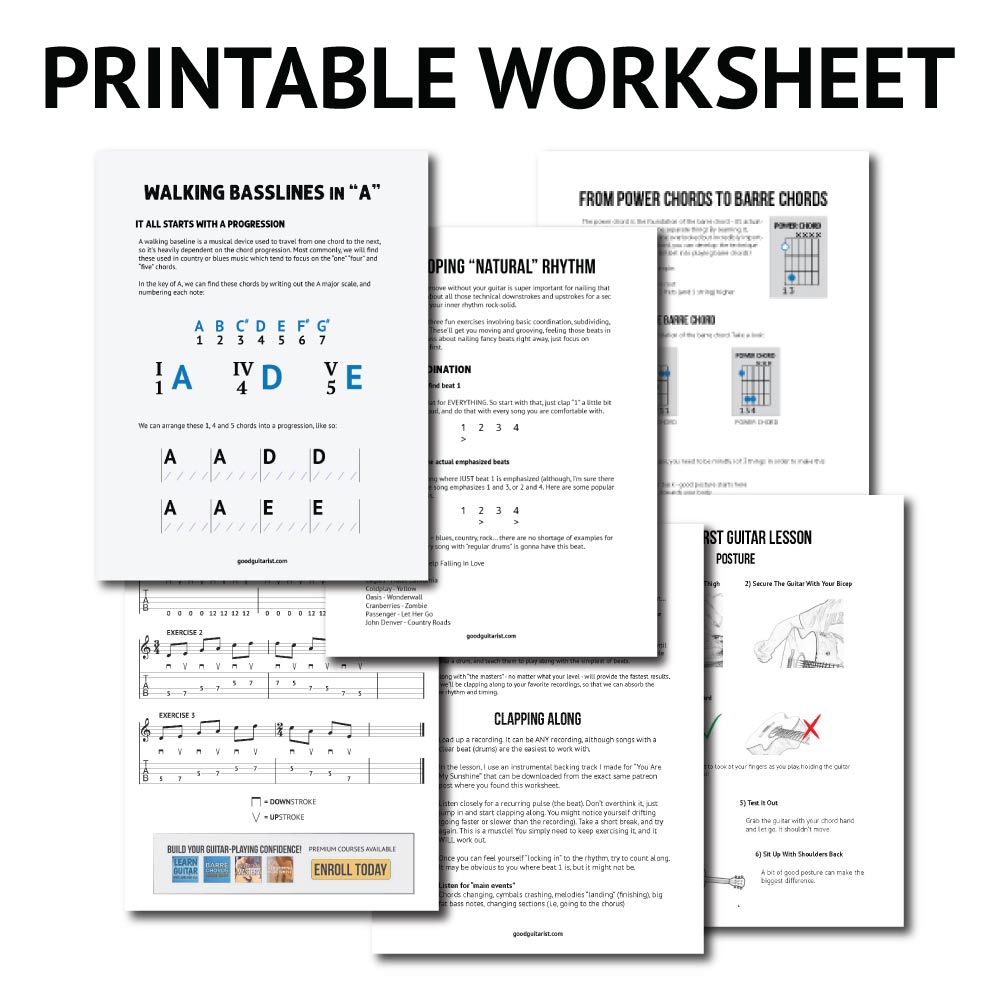
We “follow the roots” of each chord shape with your thumb. I also have a chart in my free eBook that’ll show you all this information.
STEP 4: ALTERNATING BASSLINES
Next we practice alternating between notes with our thumb (the travis picking begins!)
STEP 5: ADDING FINGER STROKES
After that, we can add some strokes with our fingers and… we’re travis picking! That’s all there is to it!
STEP 6: OFF-BEAT FINGER STROKES
We can take it a step further by adding some off-beat finger strokes. This is where the magic truly happens.
Travis Picking Songs on Guitar
- Country Roads
- Jolene
- Dust In The Wind
- Landslide
- Let Her Go